DIY Wine Bottle Torches for Cozy Balcony Evenings
Transform your balcony into a romantic retreat with these charming DIY wine bottle torches. Using simple materials, you can create soft, flickering light for date nights or quiet evenings under the stars—all on a budget.
Materials You’ll Need
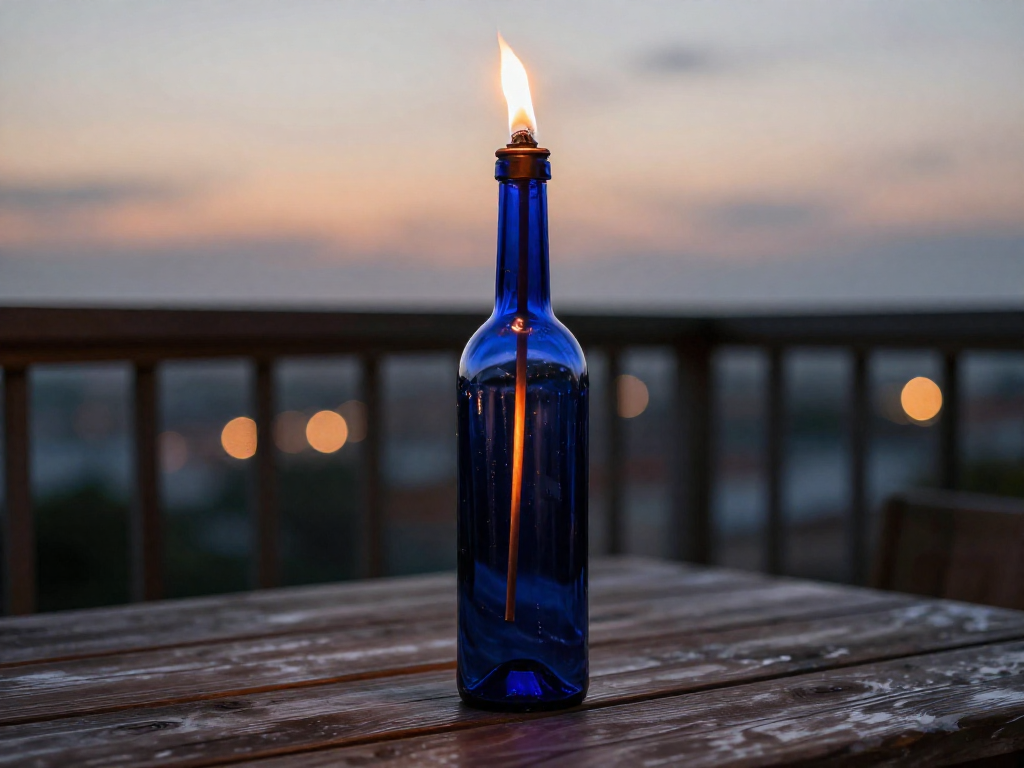
Gathering the materials for your DIY wine bottle torches is easy on the wallet and a great way to upcycle empties. Start by saving a few clean, label-free wine bottles—the star of this project. For the torch mechanism, you'll need tiki torch wicks (plus replacements) and Teflon tape to create a snug, leak-proof seal where the wick meets the bottle neck. A small metal washer or copper fitting works perfectly to hold the wick in place and adds a polished touch. If you'd like to shorten or reshape the bottle, a glass cutter and sandpaper are optional; otherwise, you can use the bottle as-is. Choose a torch fuel like citronella (which helps keep bugs away) or a standard paraffin-based option, and use a funnel and measuring cup for clean, spill-free filling. Finally, add decorative pebbles or affordable glass gems to the bottle base for stability and a hint of sparkle. All supplies are easy to find at hardware stores, dollar shops, or online, keeping this project budget-friendly and beginner-accessible.
Step-by-Step Assembly
Begin by preparing your bottle. If you’re using the bottle’s original opening, simply clean it thoroughly. If you prefer a cut-glass look, score the bottle using a glass cutter and gently snap along the line before smoothing any sharp edges with sandpaper—this step requires patience and a steady hand. Once your bottle is ready, it’s time to thread the wick. Wrap Teflon tape tightly around the base of the wick to create a snug seal, then push it through a metal washer that fits inside the bottleneck. Secure the washer and wick in place, making sure the assembly is firm and centered.
Next, add weight to your torch for stability on breezy balcony evenings. Pour a layer of decorative pebbles or glass gems into the bottom of the bottle—about an inch or two should suffice. This not only anchors the torch but also adds a charming visual element. Then, using a funnel, carefully pour torch fuel into the bottle until it reaches roughly two-thirds full. Allow the wick to soak for 10 to 15 minutes so it’s fully saturated. Before lighting, place the torch on a heatproof surface and check for any fuel leaks around the wick or cap. When you’re ready, light the wick in a controlled environment and observe the flame. If it’s too high, extinguish and trim the wick slightly. Always keep a fire extinguisher or baking soda nearby, and never leave a lit torch unattended on your balcony.
Styling Your Balcony with Bottle Torches
Once you’ve assembled your DIY wine bottle torches, the fun part begins—arranging them to transform your balcony into a warm, inviting retreat. Start by clustering bottles of different heights along your railing. This simple step creates a layered glow that feels intentional and cozy, especially when your balcony faces the street or a courtyard.
For a cohesive lighting scheme, pair your torches with string lights or small lanterns. The soft flicker of the torch flame contrasts beautifully with steady fairy lights, making the space feel magical after dark. If your balcony has a color theme, try using blue or green glass bottles—they cast a tinted light and tie the whole look together.
Don’t be afraid to get creative with seasonal displays. In spring and summer, surround your torches with potted herbs like basil or mint. The fresh scent mingles with the warm glow, and you have a ready-to-pluck garnish for drinks. As the air cools, weave fairy lights between the bottles and add small pumpkins or pinecones for an autumn centerpiece.
For a romantic evening, arrange a few torches around a compact bistro table. Layer on outdoor cushions and a throw blanket, and you’ve got the ultimate date-night nook. The intimate lighting encourages lingering conversations long after sunset, all within the footprint of even the smallest balcony.
Safety & Maintenance Tips
Your DIY wine bottle torches will set the mood for many cozy evenings, but it’s important to keep safety top of mind and show your torches a little regular care. With responsible handling and simple upkeep, you can enjoy the warm glow without worry.
Smart Placement and Basic Fire Safety Always set your torches on a sturdy, level surface that won’t catch fire—think a concrete or tile balcony floor, or a wide ceramic plate. Keep them far from curtains, cushions, overhanging branches, or any fabric that could drift into the flame. Even a slight breeze can shift flames, so position them where they won’t be knocked over. Never leave a lit torch unattended, and have a fire extinguisher or a bucket of water within easy reach. When you’re done relaxing, double-check that each flame is completely out before heading inside.
Respect Your Building’s Rules Before you light up, review your lease or check with your apartment management about open flames on balconies. Many buildings have specific rules about candles, grills, or torches. Being a considerate neighbor also means keeping smoke and odor to a minimum—citronella or clean-burning fuels can help.
Routine Maintenance and Fuel Handling A little monthly care goes a long way. Once a month, wash the glass bottles with warm soapy water to remove soot and dust. Check the wick; if it’s clogged, frayed, or won’t stay upright, replace it. Only refuel when the torch is completely cool, and store fuel in a cool, dry place out of direct sunlight—a metal storage box is a smart extra precaution. By keeping your torches clean and well-maintained, you’ll extend their life and ensure they stay safe for every twilight gathering.
FAQ
Can I use any glass bottle for this project?
Thick-walled bottles like wine or champagne bottles work best because they withstand heat and handling. Avoid thin glass or decorative bottles that may crack when you insert the wick or when the torch is lit.
What type of fuel is safe for balcony torches?
Use only lamp oil or citronella torch fuel designed for outdoor torches, as they have a high flash point and produce less soot. Never use gasoline, kerosene, or alcohol, which can cause dangerous flare-ups or strong odors on a small balcony.
How do I cut a wine bottle safely without special tools?
You can use the string-and-acetone method: soak a cotton string in nail polish remover, tie it around the bottle where you want the cut, light the string, and after the flame dies, submerge the bottle in ice water to break it cleanly. Wear safety goggles and thick gloves, and sand the edges smooth afterward.
Are these torches safe for apartment balconies with pets?
They can be used with extreme caution: place torches on a stable surface far from edges, never leave them unattended, and keep pets indoors while lit. For added safety, consider flameless LED alternatives that mimic the glow without fire risk.
How long will the torch burn on one fill?
With a standard wick and a full oil reservoir, most wine bottle torches burn for about 3 to 5 hours. Factors like wick thickness, fuel type, and wind can affect burn time, so check the oil level periodically during use.